
Safe Tick Removal
How to Remove a Tick Safely
An attached tick should be removed carefully and as soon as practical. Using the right tool and a steady technique helps reduce unnecessary squeezing or damage.
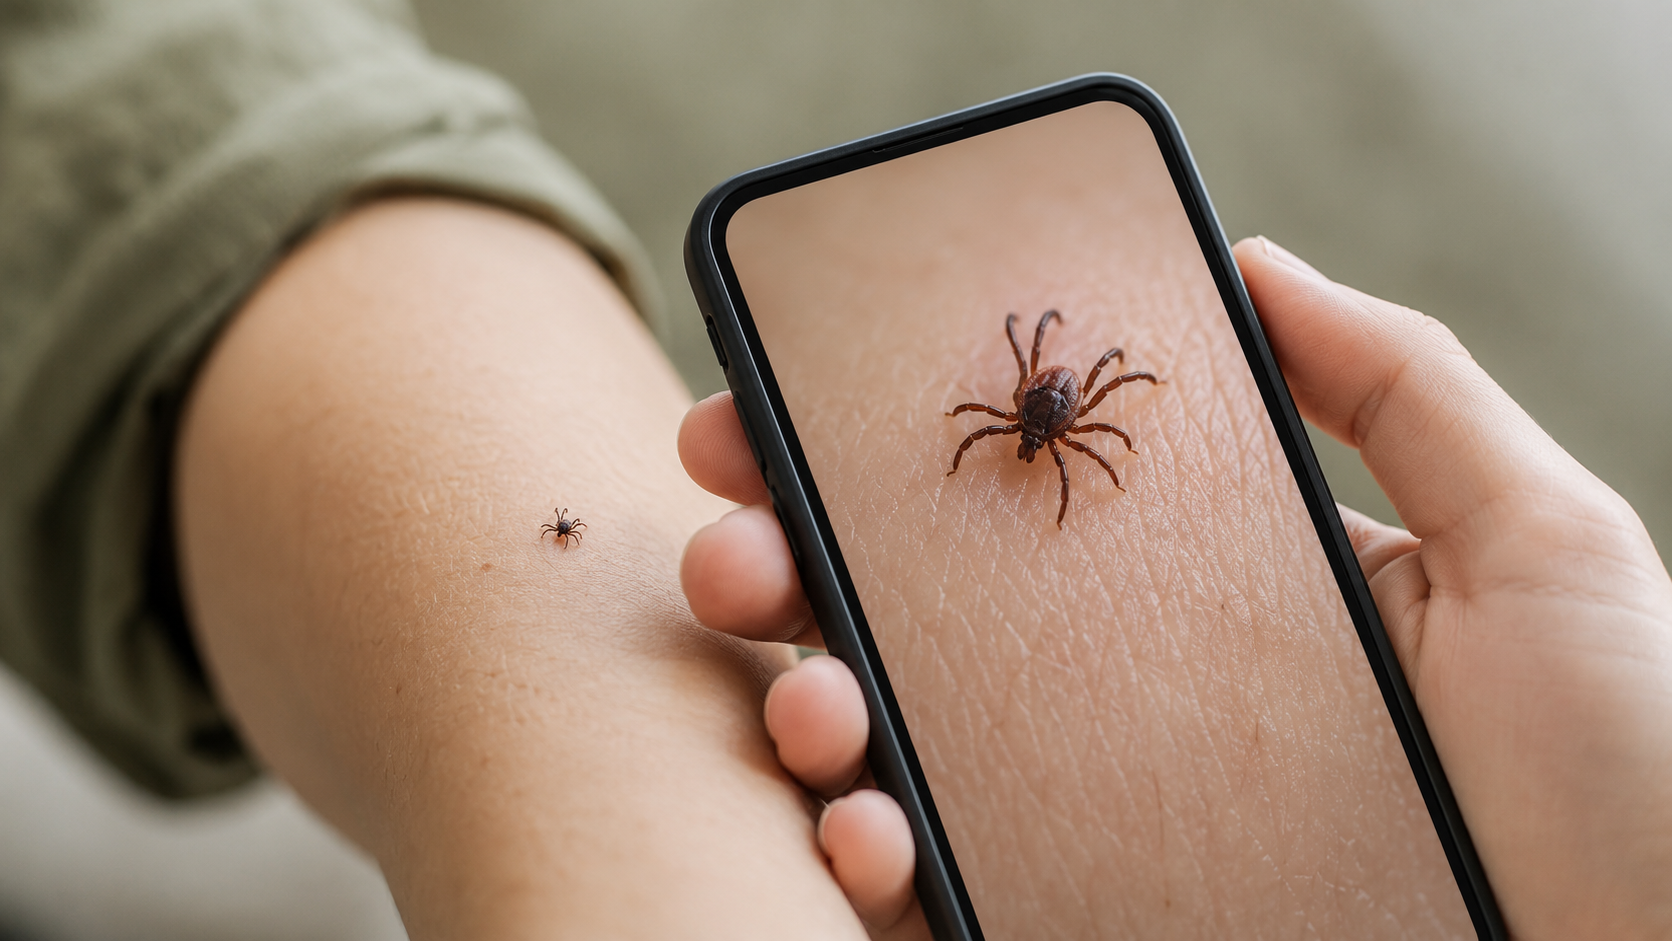
This guide explains how to remove an attached tick with fine-tipped tweezers, what to avoid and what to do after removal. The Tick Camera can help you inspect the attachment point before and after the tick is removed.
How to Remove a Tick at a Glance
Stay calm and prepare the tool before touching the tick. The aim is to grasp the tick close to the skin and remove it with slow, steady pressure.
- Use fine-tipped tweezers or a suitable tick-removal tool.
- Expose the tick clearly and move hair or fur aside.
- Grasp the tick as close to the skin as possible.
- Avoid squeezing the swollen body.
- Pull upward with steady, even pressure.
- Do not twist, jerk or crush the tick.
- Clean the bite area and your hands afterward.
- Note the date and monitor the area for changes.
Do not delay removal while trying to identify the exact tick species. A clearly attached tick should be removed promptly.
What Do You Need to Remove a Tick?
Prepare everything before beginning so you can keep the procedure calm and controlled.
Fine-tipped tweezers
Fine-tipped tweezers allow you to grasp the tick close to the skin without pressing heavily on its body.
Broad cosmetic tweezers may make it harder to reach the attachment point precisely.
A suitable tick-removal tool
A purpose-designed tick-removal tool may also be used when you are familiar with its instructions. Different tools are designed to be used in different ways, so follow the manufacturer’s directions.
Good lighting
Use bright, even lighting so you can see where the tick enters the skin.
A mirror, another person or a smartphone camera may help with hard-to-see areas.
Disposable gloves
Gloves can reduce direct contact with the tick and bite area, particularly when removing a tick from another person or an animal.
Cleaning supplies
Have soap and water, rubbing alcohol or another appropriate skin-cleaning product ready for use after removal.
A small container or sealed bag
You may choose to place the removed tick in a sealed container or bag. Do not handle it with bare fingers or crush it between your nails.
A camera or note-taking method
Recording the date, bite location and appearance of the area may be useful for later monitoring.
How to Remove a Tick With Fine-Tipped Tweezers
Use a slow and controlled technique. Rushing or pulling from the swollen body can make removal more difficult.
1. Position the person or animal comfortably
Choose a stable position with good lighting. Ask the person to remain still.
For a dog or cat, keep handling calm and stop if the animal becomes distressed or may bite or scratch.
2. Expose the tick completely
Move clothing, hair or fur away from the area. Part pet fur widely enough to see both the tick and the surrounding skin.
Do not begin pulling while the attachment point is still hidden.
3. Hold the tweezers close to the skin
Position the tweezer tips around the tick at the point where it enters the skin.
Try to grasp the tick by the head or mouthpart area rather than the swollen abdomen.
4. Grasp the tick firmly but gently
Use enough pressure to hold the tick securely without crushing or cutting through it.
5. Pull upward with steady pressure
Pull slowly and evenly in a straight upward direction.
Do not jerk, snap or rapidly tug the tweezers. Continue the steady pull until the tick releases.
6. Do not twist the tick
Twisting or sharply rotating the tick may cause parts of the mouth area to break off and remain in the skin.
7. Inspect the removed tick and bite area
After removal, look at the tick and the attachment site. A small dark point may remain where the tick was attached.
Do not repeatedly dig into the skin if a tiny part appears to remain.
8. Clean the area
Clean the bite site and wash your hands after handling the tick.
9. Record the date and location
Note when the tick was removed and where it was attached. A clear photograph of the bite area can help with later comparison.
How to Use a Tick-Removal Tool
Tick hooks, cards and other removal tools vary in shape and technique. Some are designed to slide underneath the tick, while others grip it close to the skin.
Always follow the instructions supplied with the specific tool.
Expose the tick clearly
Move hair or fur aside and make sure the tool can reach the attachment point without pressing on the tick’s body.
Position the tool at skin level
Place the tool as close to the skin as its design allows. Avoid catching surrounding skin, hair or fur.
Use the motion specified by the manufacturer
Some tools are intended for straight lifting, while others require a controlled movement specific to their design.
Do not improvise a twisting or levering technique unless it is explicitly required for that tool.
Stop if the tool does not fit correctly
A tool that is too large, too small or unable to reach the attachment point may increase the chance of squeezing or damaging the tick.
Use fine-tipped tweezers or seek professional help when the tool cannot be positioned safely.
What Should You Avoid When Removing a Tick?
Several popular methods can irritate, damage or delay removal of the tick.
Do not squeeze the tick’s body
Avoid gripping the swollen abdomen. Grasp the tick as close to the skin as possible.
Do not twist or jerk with tweezers
Use slow, steady upward pressure rather than a sudden or rotating movement.
Do not burn the tick
Do not use a match, lighter, heated needle or other hot object. This can burn the skin and does not provide controlled removal.
Do not apply petroleum jelly
Do not cover the tick with petroleum jelly in an attempt to suffocate it. This delays physical removal.
Do not apply nail polish
Nail polish and nail-polish remover are not recommended methods for removing an attached tick.
Do not use oils or household chemicals
Avoid essential oils, alcohol poured directly onto the attached tick, glue, detergent or other substances intended to make it release.
Do not crush the tick with bare fingers
Handle the removed tick with tweezers, gloves or a sealed container rather than crushing it between your fingers.
Do not wait for the tick to detach
Remove a clearly attached tick as soon as practical rather than waiting for it to finish feeding and fall off.
Do not delay removal for species identification
Exact identification is not necessary before removing an attached tick.
What If Part of the Tick Stays in the Skin?
Occasionally, a small part of the tick’s mouth area may remain visible after the body has been removed.
Do not panic
A tiny remaining fragment does not mean the entire tick is still attached.
Use clean tweezers only when the fragment is easy to grasp
If the remaining material is clearly visible and can be grasped easily without digging, you may try to remove it gently with clean fine-tipped tweezers.
Do not repeatedly dig into the skin
If the fragment cannot be removed easily, avoid cutting, squeezing or digging into the area. Repeated manipulation can irritate the skin and increase the risk of a local skin infection.
Clean and monitor the area
Keep the area clean and watch for increasing redness, swelling, warmth, pain or discharge.
Seek professional help when necessary
Contact a healthcare professional or veterinarian if the area becomes increasingly irritated, the remaining material is large or removal cannot be performed safely.
What Should You Do After Removing a Tick?
After removal, clean the area, record the bite and continue to monitor the person or animal.
Clean the bite area
Wash the area with soap and water or use an appropriate antiseptic. Clean the tweezers or removal tool as well.
Wash your hands
Wash your hands thoroughly after handling the tick, even when gloves were used.
Record the date
Note the date of removal and the place where the tick was attached.
Photograph the area
A photograph can provide a visual reference if the appearance changes over the following days.
Dispose of or store the tick safely
Place the tick in a sealed bag or container, wrap it securely in tape or dispose of it according to local guidance.
Do not crush it with bare fingers or release it inside the home.
Monitor the bite area
A small amount of local redness or irritation may occur immediately after removal. Continue to watch the area for changes.
Monitor general health
Pay attention to an expanding rash, fever, headache, unusual tiredness, muscle or joint pain or other symptoms that cause concern.
For pets, watch for reduced appetite, tiredness, weakness, pain, lameness or unusual behavior.
When Should You Seek Medical Help?
Professional advice may be appropriate depending on the bite location, symptoms, medical history and local tick-borne disease risks.
Seek medical advice when:
- An expanding or unusual rash develops.
- You develop fever, headache, unusual fatigue or flu-like symptoms.
- You experience muscle, joint or nerve-related symptoms.
- The bite area becomes increasingly painful, swollen or infected.
- The tick was attached in or near the eye, ear or mouth.
- You cannot remove the tick safely.
- You are pregnant, immunocompromised or concerned about your personal risk.
- A child becomes unwell after a tick bite.
- You have questions about preventive treatment after a bite.
Do not take antibiotics or other medication unless advised by a qualified healthcare professional.
When Should You Contact a Veterinarian?
Veterinary assistance is advisable when removal is difficult or the animal shows concerning changes.
Contact a veterinarian when:
- The tick is attached close to the eye or deep inside the ear.
- The animal has several attached ticks.
- The animal cannot be handled safely.
- The bite area becomes increasingly swollen, painful or irritated.
- The dog or cat develops weakness, lethargy, reduced appetite or pain.
- You are unsure which tick-prevention product is safe.
- A fragment remains and the area appears inflamed.
Common Tick-Removal Mistakes
Gripping the swollen body
Grasping the tick too far from the skin can squeeze or tear it. Position the tool close to the attachment point.
Pulling too quickly
A sudden tug gives less control. Use slow, steady pressure.
Twisting with ordinary tweezers
When using fine-tipped tweezers, pull upward rather than twisting or jerking.
Using a blunt tool
Broad or blunt tweezers may make it difficult to grasp the tick close to the skin.
Trying several home remedies first
Oils, heat, glue or petroleum jelly delay controlled physical removal.
Digging aggressively for a tiny fragment
Repeatedly cutting or digging into the skin may cause more irritation than leaving a tiny fragment alone.
Forgetting to clean the area
Clean both the bite site and your hands after removal.
Failing to monitor afterward
Record the date and continue to watch the bite area and general health.
Frequently Asked Questions About Tick Removal
What is the safest way to remove a tick?
Use fine-tipped tweezers to grasp the tick as close to the skin as possible. Pull upward with slow, steady and even pressure.
Should I twist a tick when removing it?
Do not twist or jerk a tick when using ordinary fine-tipped tweezers. Some purpose-designed removal tools have their own instructions, which should be followed exactly.
Can I remove a tick with my fingers?
Fine-tipped tweezers or a suitable removal tool provide better control. When no tool is available, seek appropriate guidance and avoid squeezing the tick with bare fingers.
Can I put petroleum jelly on a tick?
No. Petroleum jelly does not provide controlled removal and may delay removing the tick physically.
Should I burn a tick off?
No. Heat can burn the skin and is not a safe method of tick removal.
What happens if the tick breaks during removal?
A small mouthpart fragment may remain in the skin. Remove it only if it can be grasped easily with clean tweezers. Avoid digging into the skin.
Should I keep the removed tick?
You may place it in a sealed bag or container and record the date and bite location. Local medical guidance may differ on whether testing or identification is useful.
Should I take antibiotics after every tick bite?
No. Preventive treatment depends on several factors and local medical guidance. Speak with a qualified healthcare professional rather than taking antibiotics without advice.
How do I remove a tick from a dog or cat?
Use fine-tipped tweezers or an appropriate tick-removal tool, grasp close to the skin and remove the tick carefully. Seek veterinary help for sensitive locations or an animal that cannot be handled safely.
Your Next Step
Sources
This guide was prepared using current information from recognized public-health and medical organizations.
Centers for Disease Control and Prevention: What to Do After a Tick Bite ↗
Centers for Disease Control and Prevention: Tick Bite Guide ↗
Centers for Disease Control and Prevention: Signs and Symptoms of Lyme Disease ↗
NHS: Lyme Disease and Tick Removal ↗
European Centre for Disease Prevention and Control: Protective Measures Against Tick Bites ↗
European Centre for Disease Prevention and Control: Lyme Borreliosis ↗
Learn more about our research and review process in our Editorial Policy and Sources and References.